|
|
Post by sw1 on Nov 28, 2014 17:07:09 GMT
Urgh ... Just remembered what a ball ache this matting is. There's lots of raised bits (letters, numbers, blobs and long ridges) on the back you need to slice off. I also realised you need to go along the edges with a blade remove the "flash" which takes a lot of time. I knew there was a reason why I didn't get around to making another building base.
Hoping I can get one of the mats cleaned up before the end of the weekend so I can start properly.
Edit: I'm just being grumpy as the only plasters in the house are kids ones and I've had to use a few while cleaning up the first matt.
|
|
|
|
Post by sw1 on Dec 3, 2014 8:03:31 GMT
Q: So how long does it take to cplean up one of the matts with 192 holes in it? A: Flippin ages Only finished cleaning up the full sheet last night. Got fed up of doing it very quickly but carried on. Now I can get to the FUN bit.  |
|
|
|
Post by sw1 on Dec 3, 2014 18:42:21 GMT
Started working out exactly where I want the recessed bits. Though I'm likely to stick to the lay out I'd mocked up earlier in the thread.
In my previous attempt at something similar I managed to get a reasonable look of depth from just 5mm recess. This time I'm going to try 10mm recess and see if I can get it looking even better.
Should have the sheet material glued to the back of the grating tonight and then the recessed section can be done.
|
|
|
|
Post by sw1 on Dec 4, 2014 0:05:05 GMT
Well progress has been made on the textured card front. I've applied it to the back of the mesh where needed. Though it's taken a lot more of the textured plasticard than I was planning to use, with only a few scraps left over from an A4 sheet which I'd assumed would do 2 pieces this size. I can see a lot more being ordered in the new year to get this project completed. 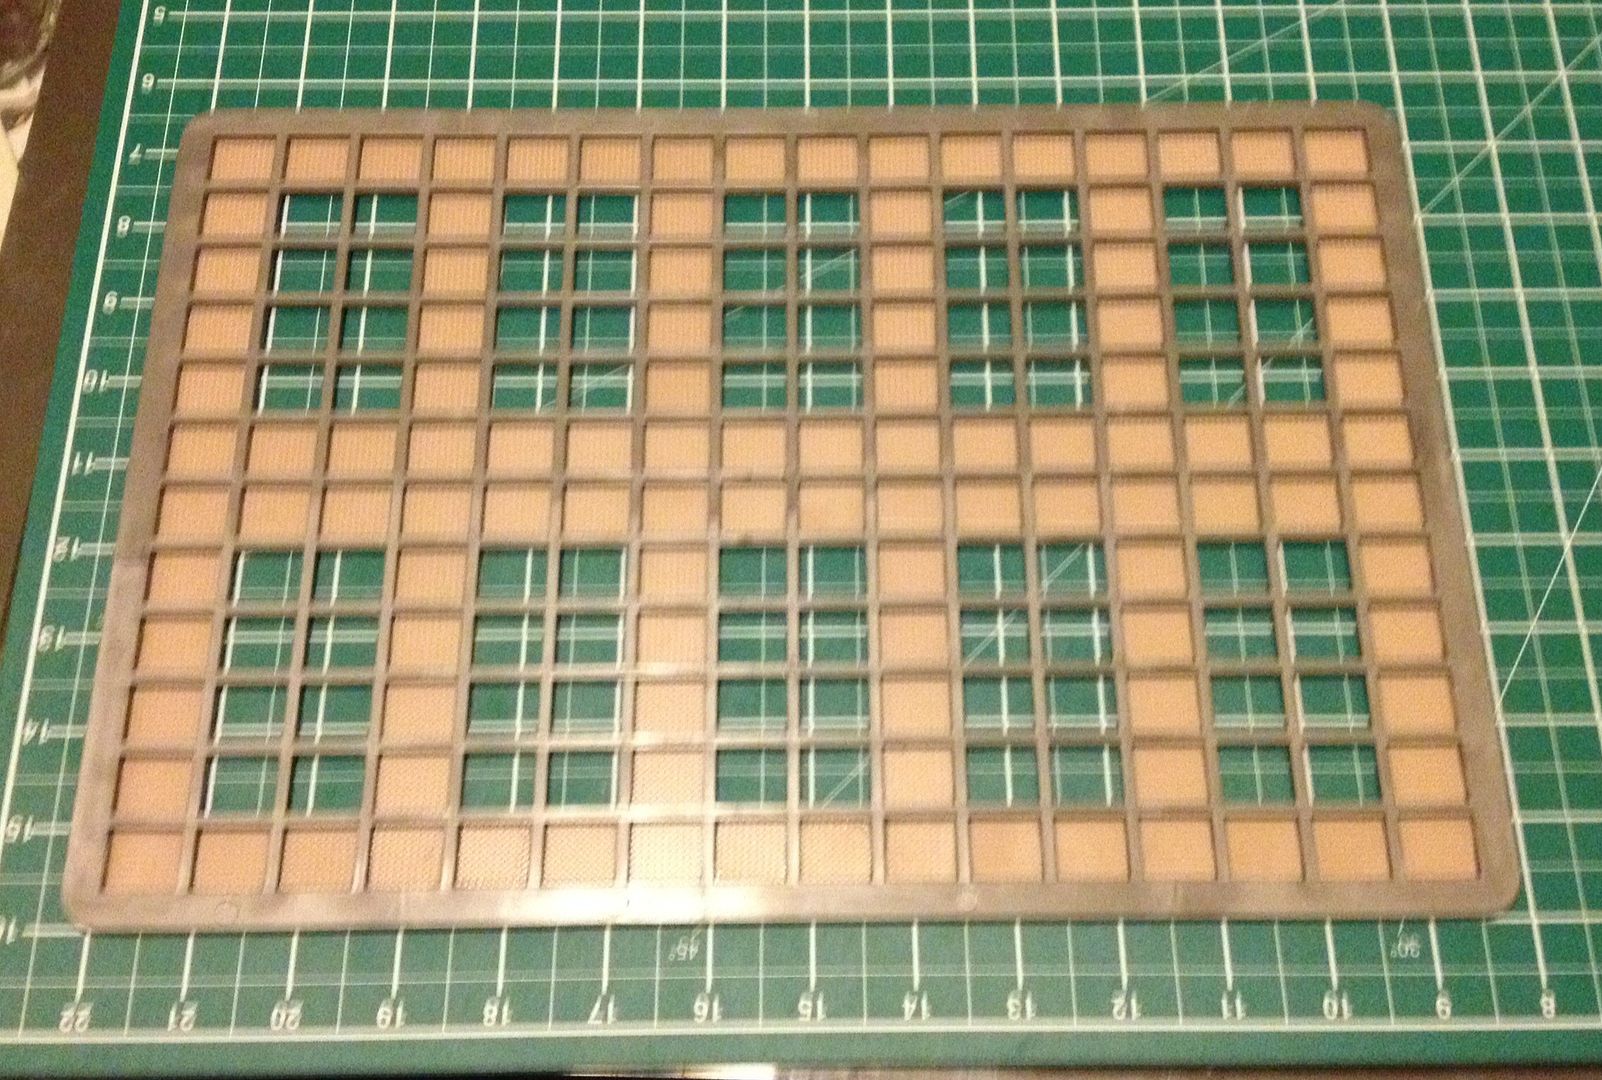 Sorry for the low quality pic, it's getting a bit late so the lighting a rubbish and I'm knackered. Next up is building the walls which will go around the recessed sections. This was going to be me carving into big sheets of foamboard. But I've now decided to build it up with strips of foam board and mount it on a singe big sheet instead. It'll drop the amount of wastage drastically. |
|
|
|
Post by sw1 on Dec 4, 2014 2:00:19 GMT
|
|
|
|
Post by Brassaxe on Dec 4, 2014 7:20:30 GMT
|
|
|
|
Post by sw1 on Dec 4, 2014 7:28:27 GMT
Got more done last night. With most of the surrounding walls for the recessed parts now complete. 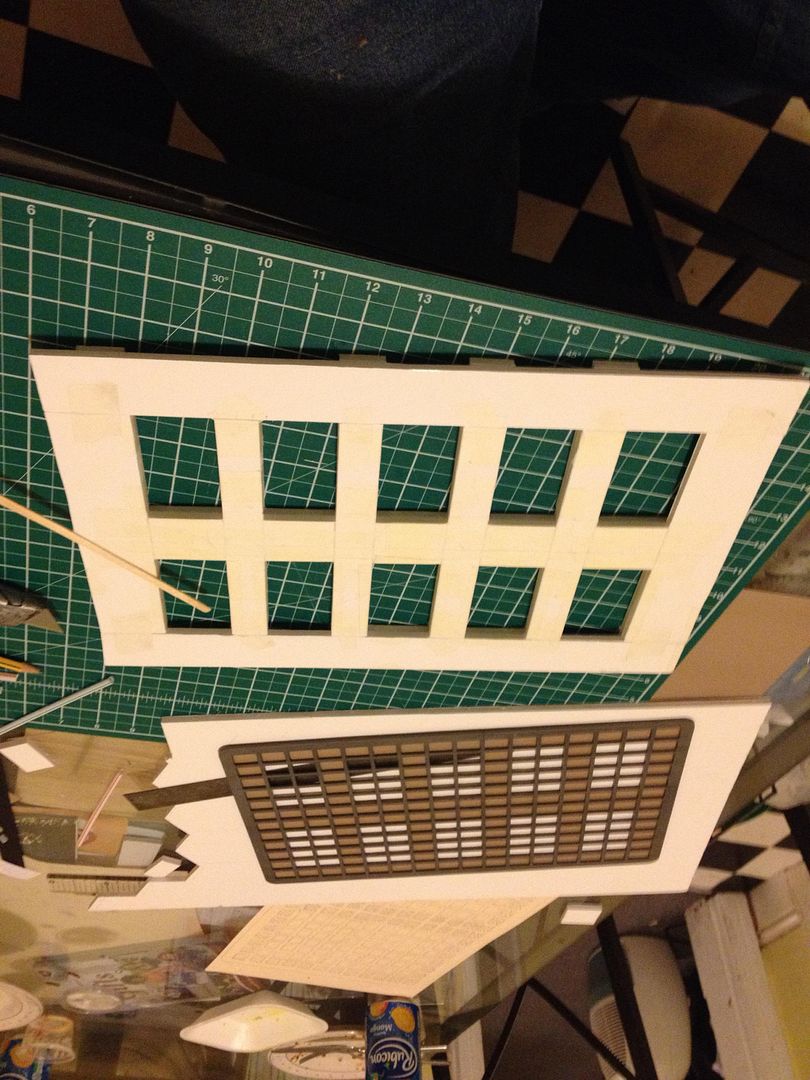 Bit of a closer look at how deep it's going to be (10mm rather than just 5mm).  Got no time during the day to get anything worked on hobbywise today until later on. Really want to crack on with the detailing now I've got this far. |
|
|
|
Post by sw1 on Dec 5, 2014 17:04:31 GMT
Been on the lookout for more interesting bits and while helping sort out my brothers place I came across a box that is used to transport UHT cartons of milk in. It's short ends are quite high but the longer sides are cut away ... 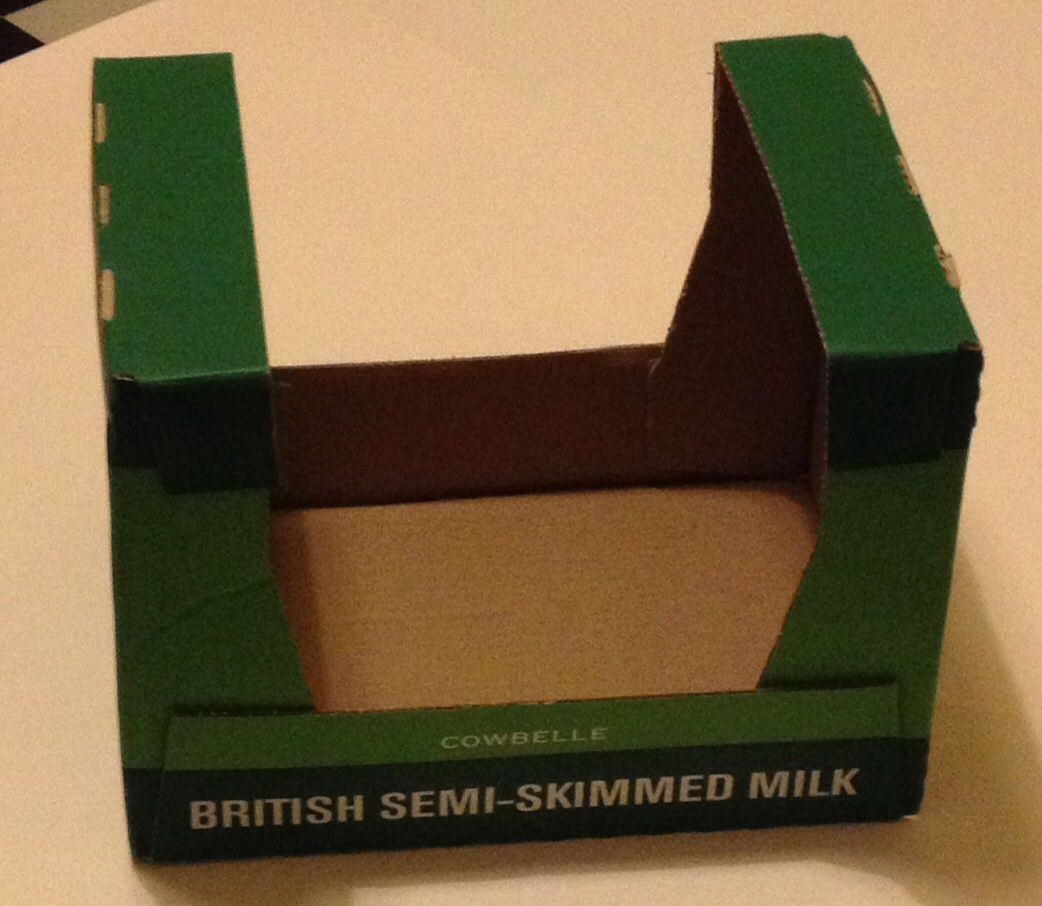 To most it's a box. But invert it and it turns into the starting point of some form of lift ...  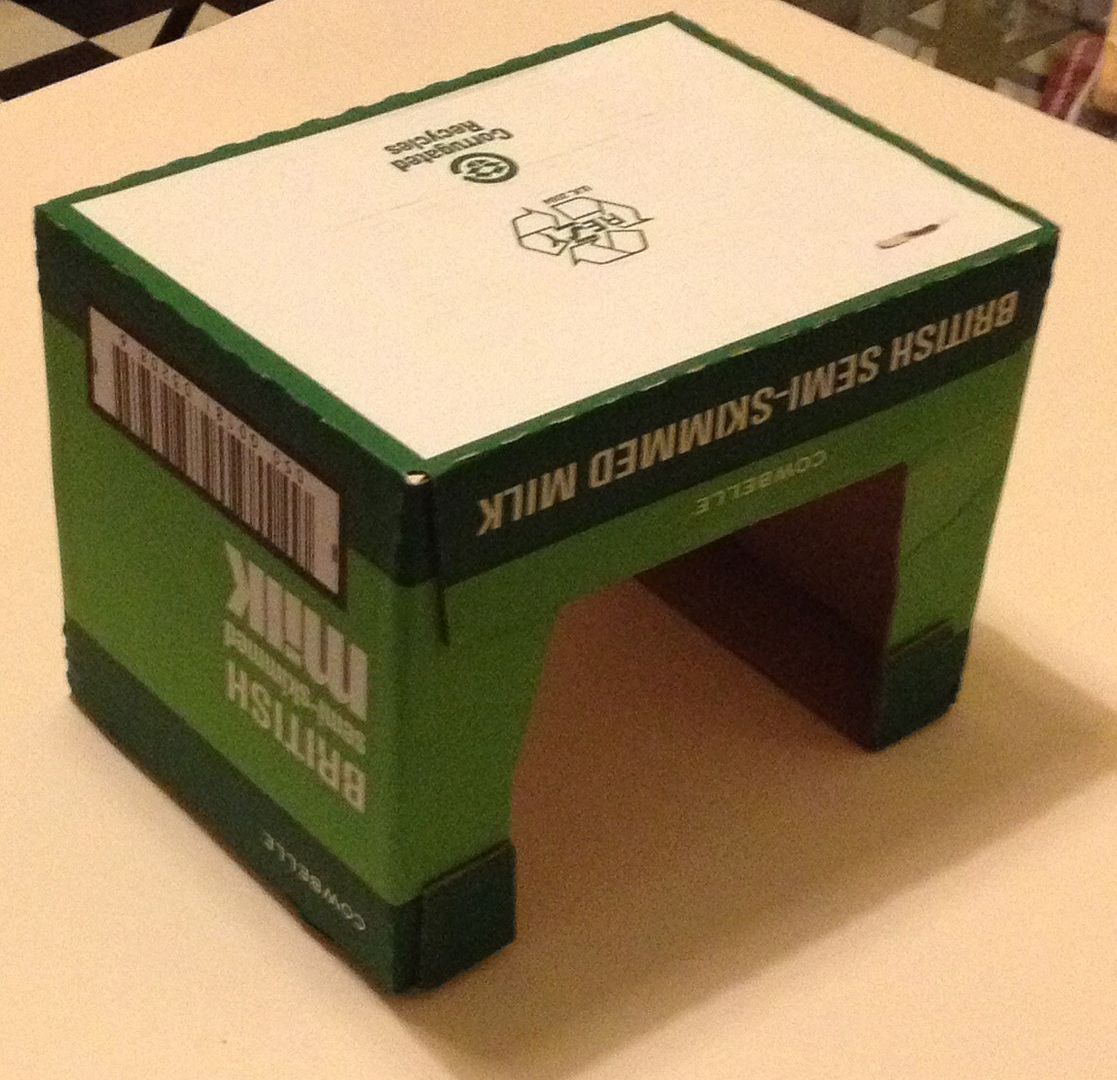 Erm ... It'll work out with plenty of gubbins applied. Well ... I think it will anyway.  |
|
|
|
Post by sw1 on Dec 5, 2014 19:16:53 GMT
Just checked and something like a Stormlord will just about squeeze through as long as any weapons on the sponsons are pointing forward with a few mm spare.
However it won't be lifting one from another level of the ship as it's not quite deep enough to take the length of the super heavy. Plus once I've started adding stuff to it I doubt a SH will fit if it has sponsons.
Really starting to see the possibilities in lots of everyday bits and bobs. : D
|
|
|
|
Post by sw1 on Dec 6, 2014 4:03:08 GMT
Think this is finished for now until I work out to fit it into a board section.  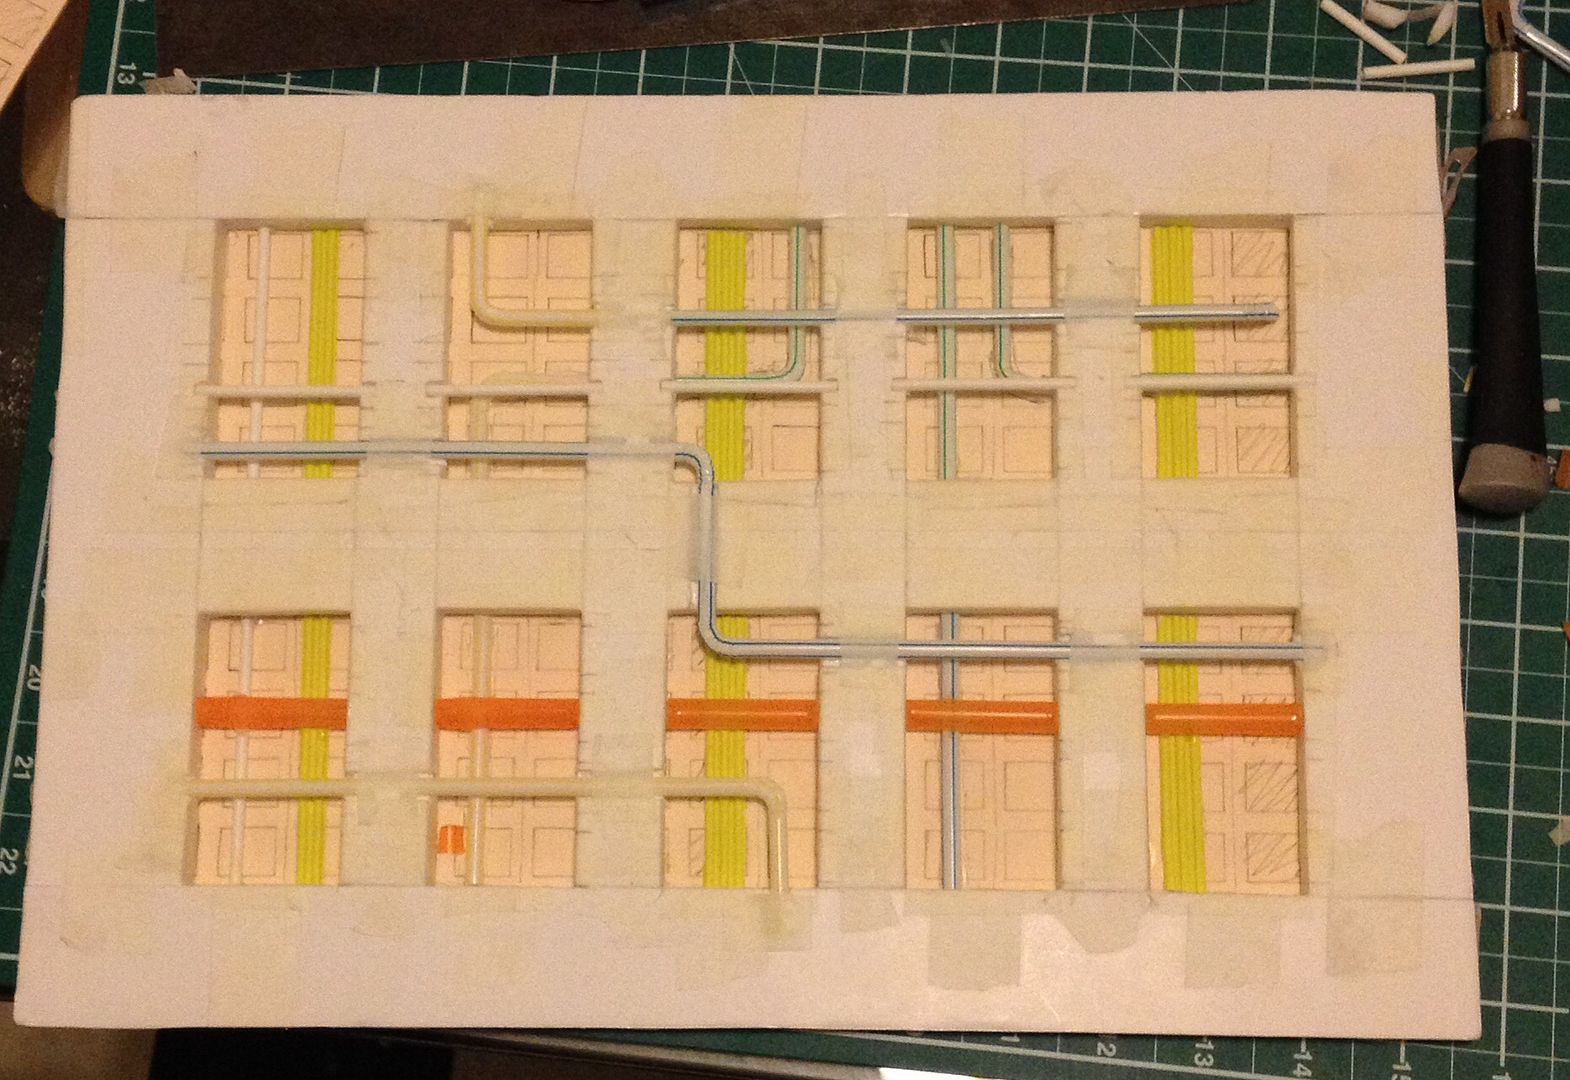 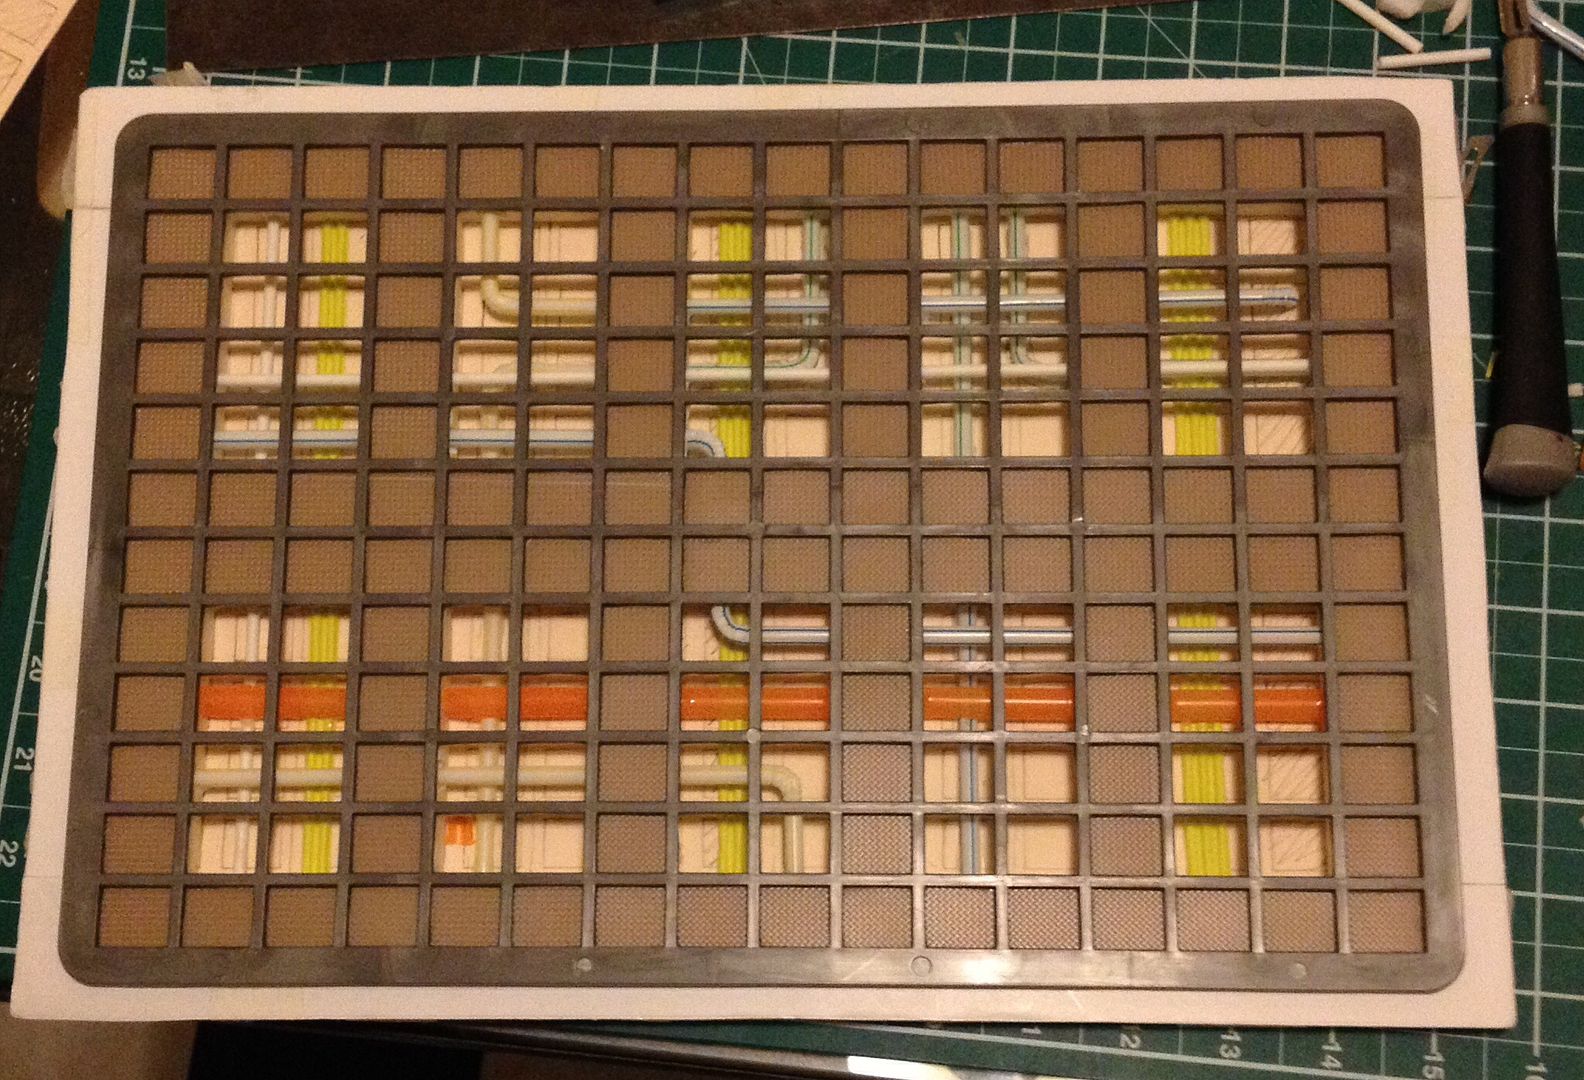 The plan is to get several sections built and then workout the best way to make the pieces fit together nicely. Maybe workout 2' x 2' sections?? |
|
|
|
Post by Brassaxe on Dec 6, 2014 20:06:47 GMT
Certainly a lot more interesting than your average tabletop Still haven't worked out how it's going to end up, looking forwards to finding out  |
|
|
|
Post by sw1 on Dec 6, 2014 22:47:11 GMT
The aim is to have several large scenery pieces that'll lock together in a few different ways to give a varying layout.
Originally it was going to be a series of rooms with interlocking corridors. But now likely to be a four 2'x2' boards with the aim to be able to expand the layout over time.
|
|
|
|
Post by sw1 on Dec 10, 2014 18:03:57 GMT
Well I've ended up settling with the tiles. Though I've not worked out how I'm going to do the walls and connect the tiles. However I've continued with the build and now have a pretty sturdy tile to work from. Laminating the long sheets at 90deg to each other gives some rigidity to the foam board it doesn't normally have. Currently I have 3 layers which takes the top of the recessed sheet level with the top surface (which is just around the edge as I'll be doing some shallow details on other parts of the tile). This can be seen here (it looks wonky but it's just an optical illusion not helped having it sat on a see through glass table):  And this is it with the mesh in place: 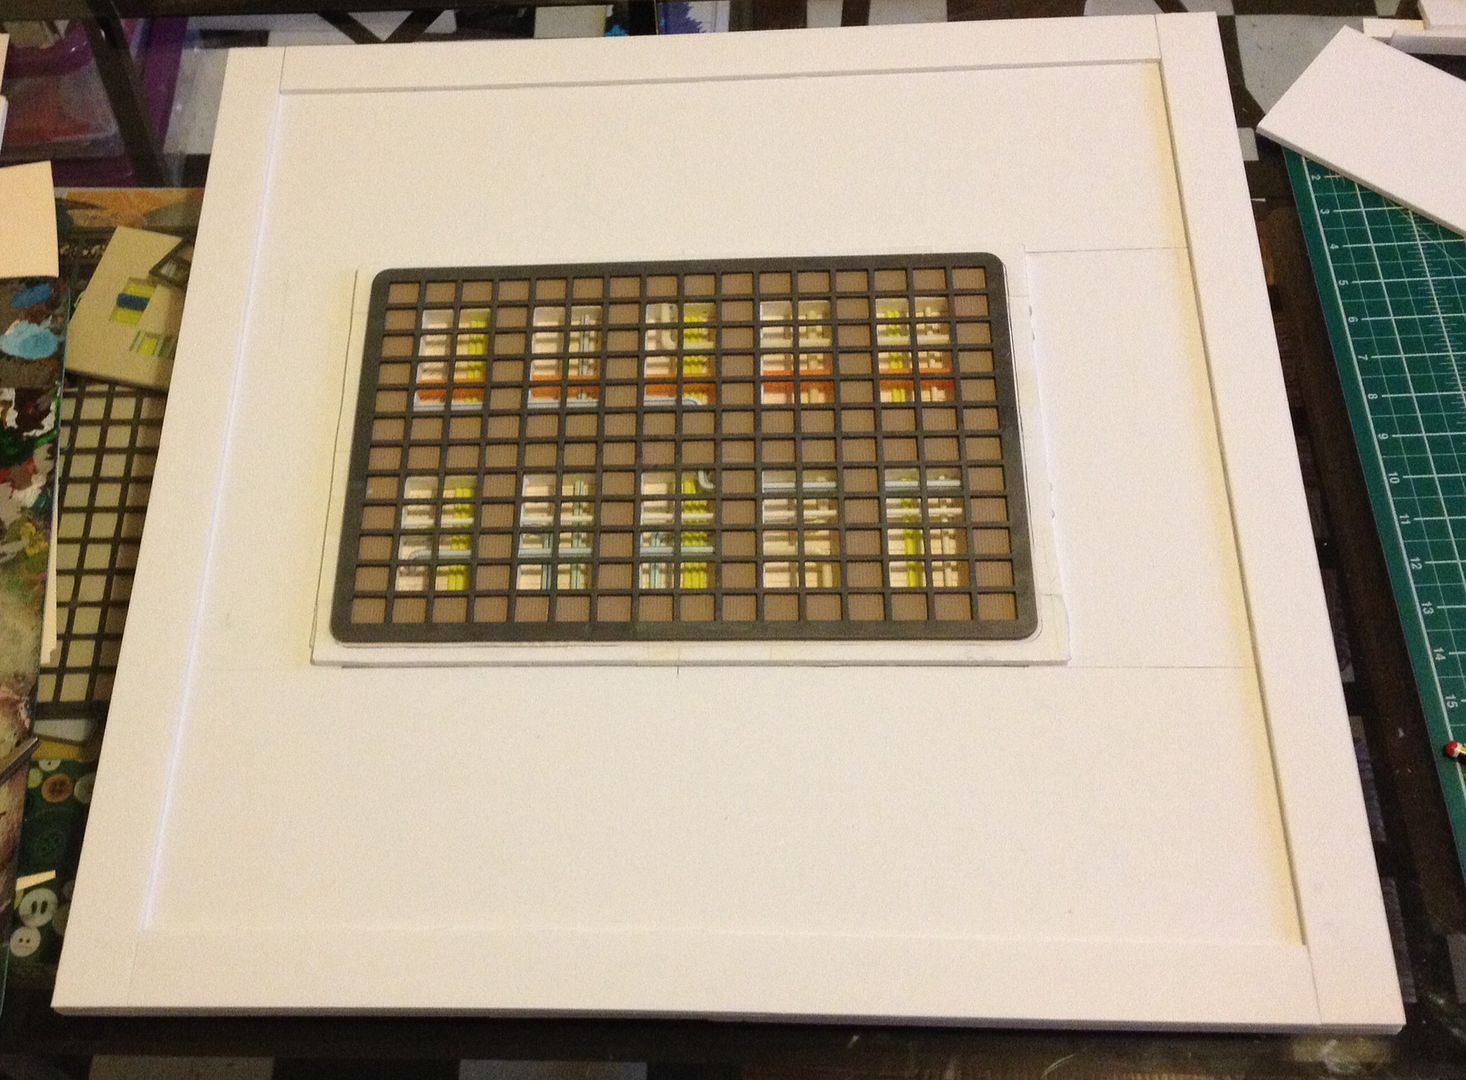 The recessed section hasn't been fixed in place yet as it'll be easier to paint it separately. It'll also give me a chance to try out a few other ideas with designs. I've also changed my go to knife away from a scalpel to a stanley blade for work with foam board and probably will make it my go to knife for cutting up plasticard as well. It stays sharper for longer and you can apply a meduim level of pressure without having to worry about the blade snapping. It's also just as acurate a cutting tool when it cones to a straight line (infact I seem to be able to cut more squarely with the Stanley). |
|
|
|
Post by sw1 on Jan 8, 2015 10:16:46 GMT
Of late I've been working on prototyping some wall sections for my board. I've finally settled on a design and now just need to get the details worked out on the first one so I can replicate it. Here's the wall before I start doing final detail work: 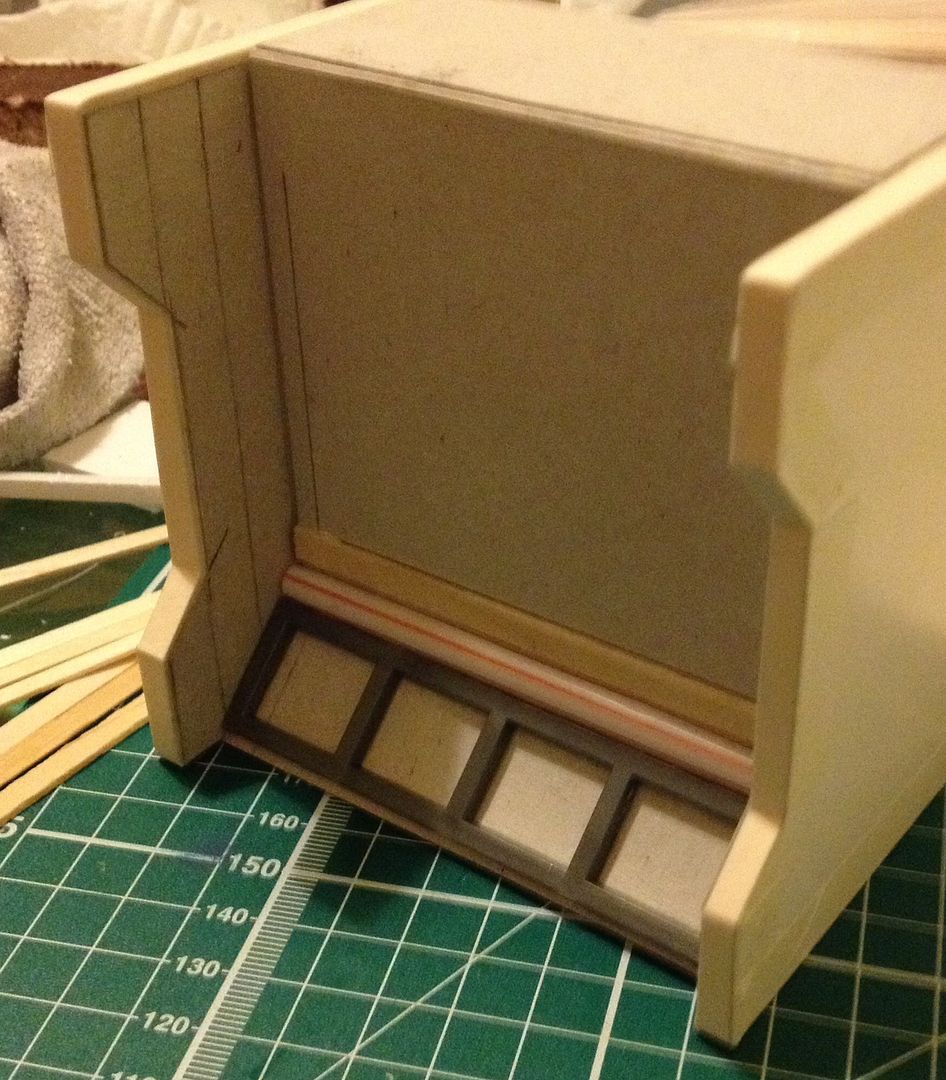 Now I'm going back to add rivets: 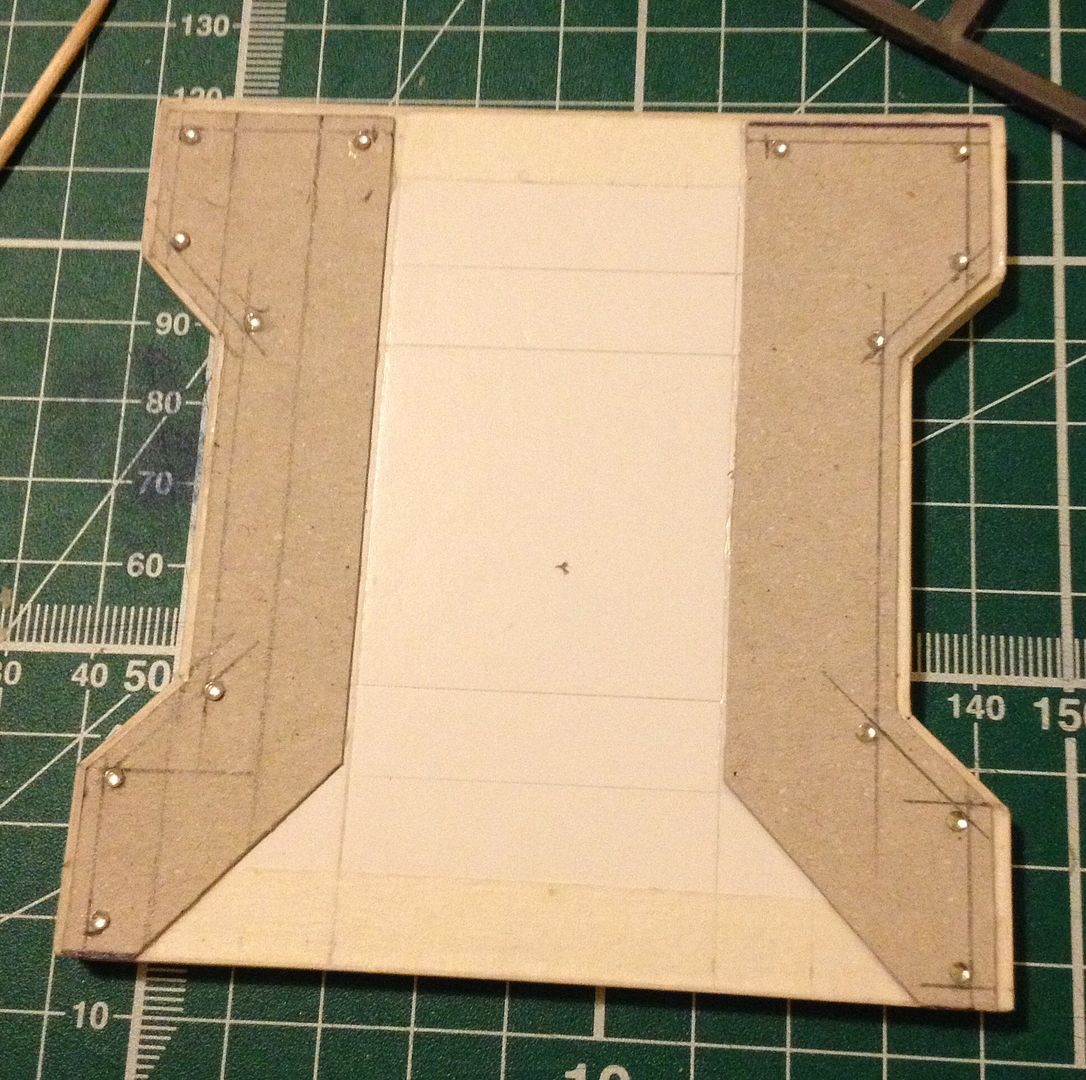 I've also ended up starting working on ideas for some form of pillar: 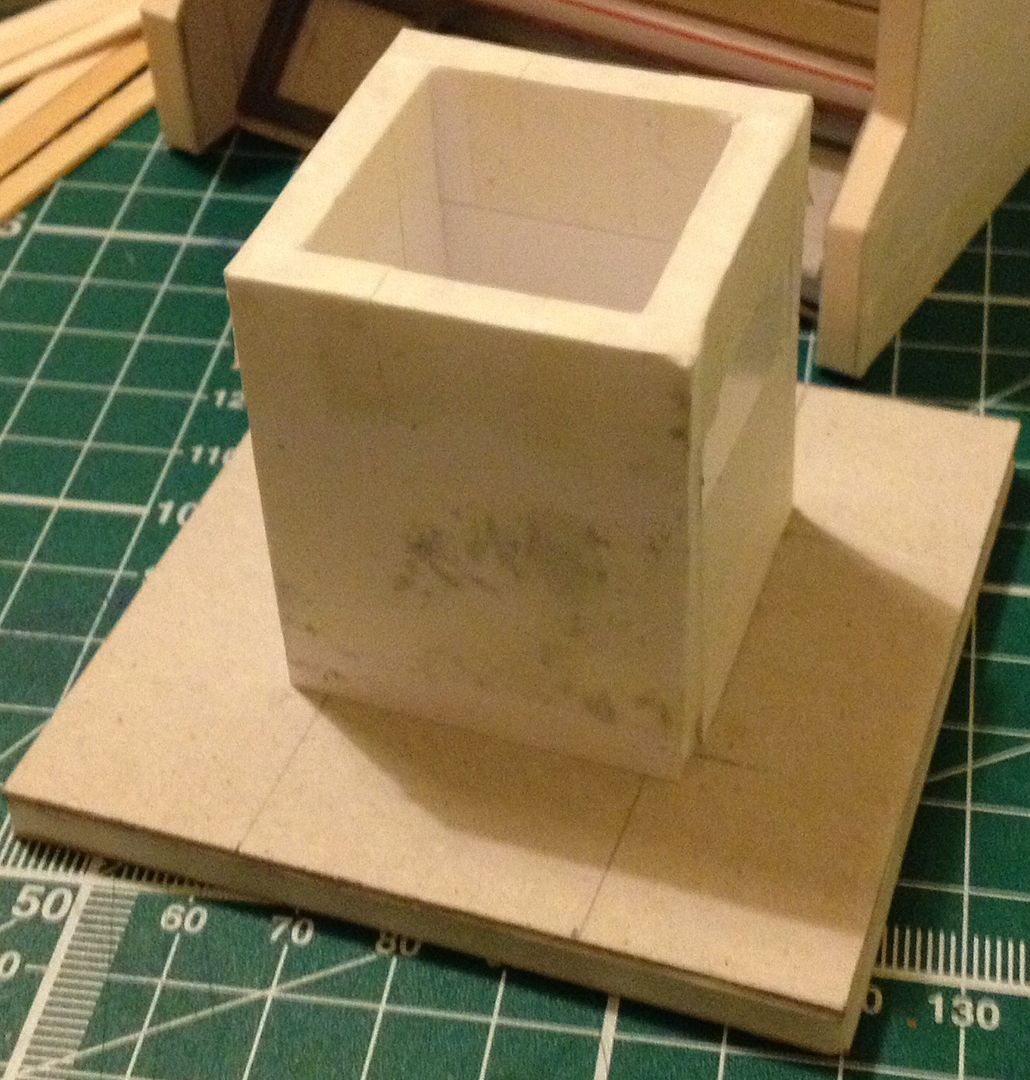 |
|
|
|
Post by sw1 on Jan 9, 2015 14:57:32 GMT
Well this is the finished wall section: 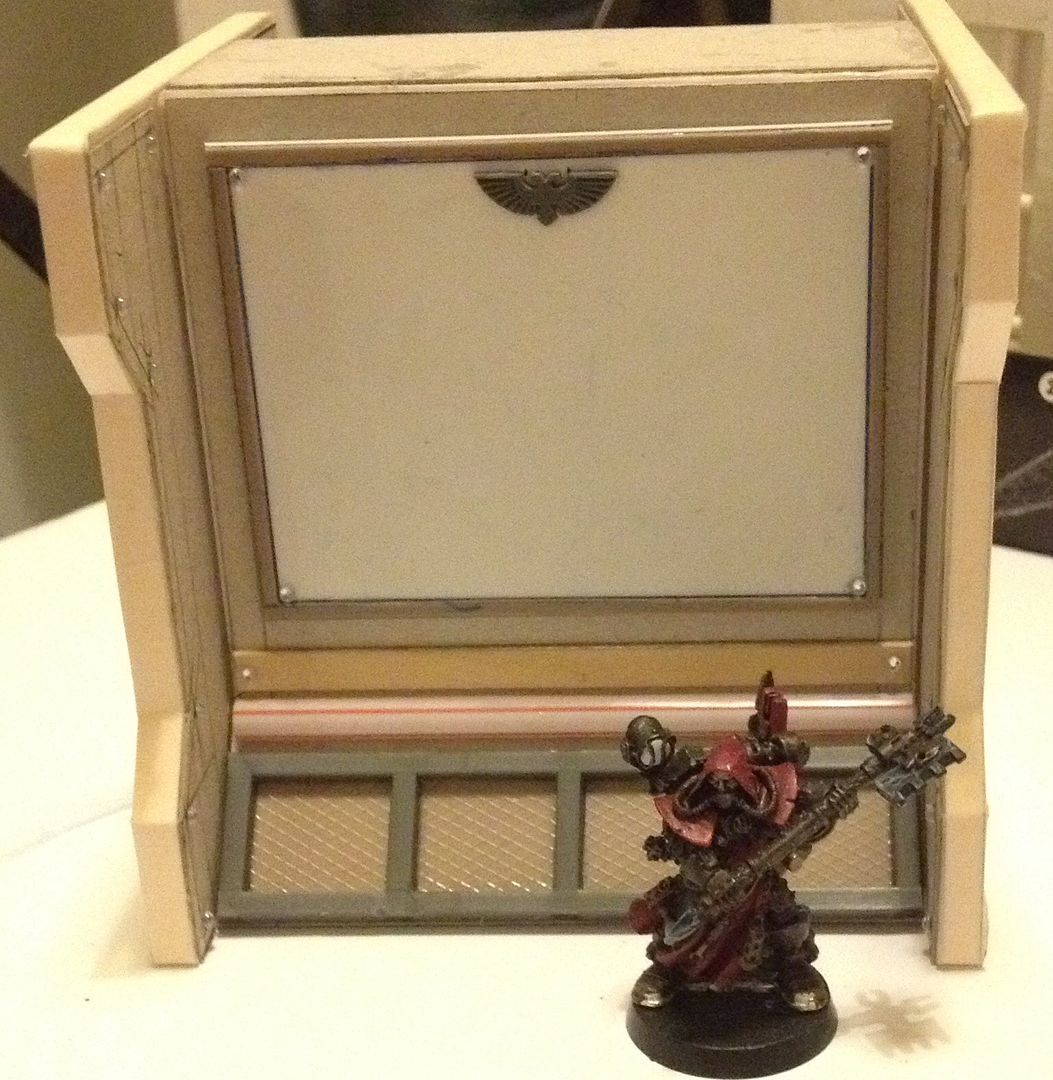 And with another part I'm currently working on: 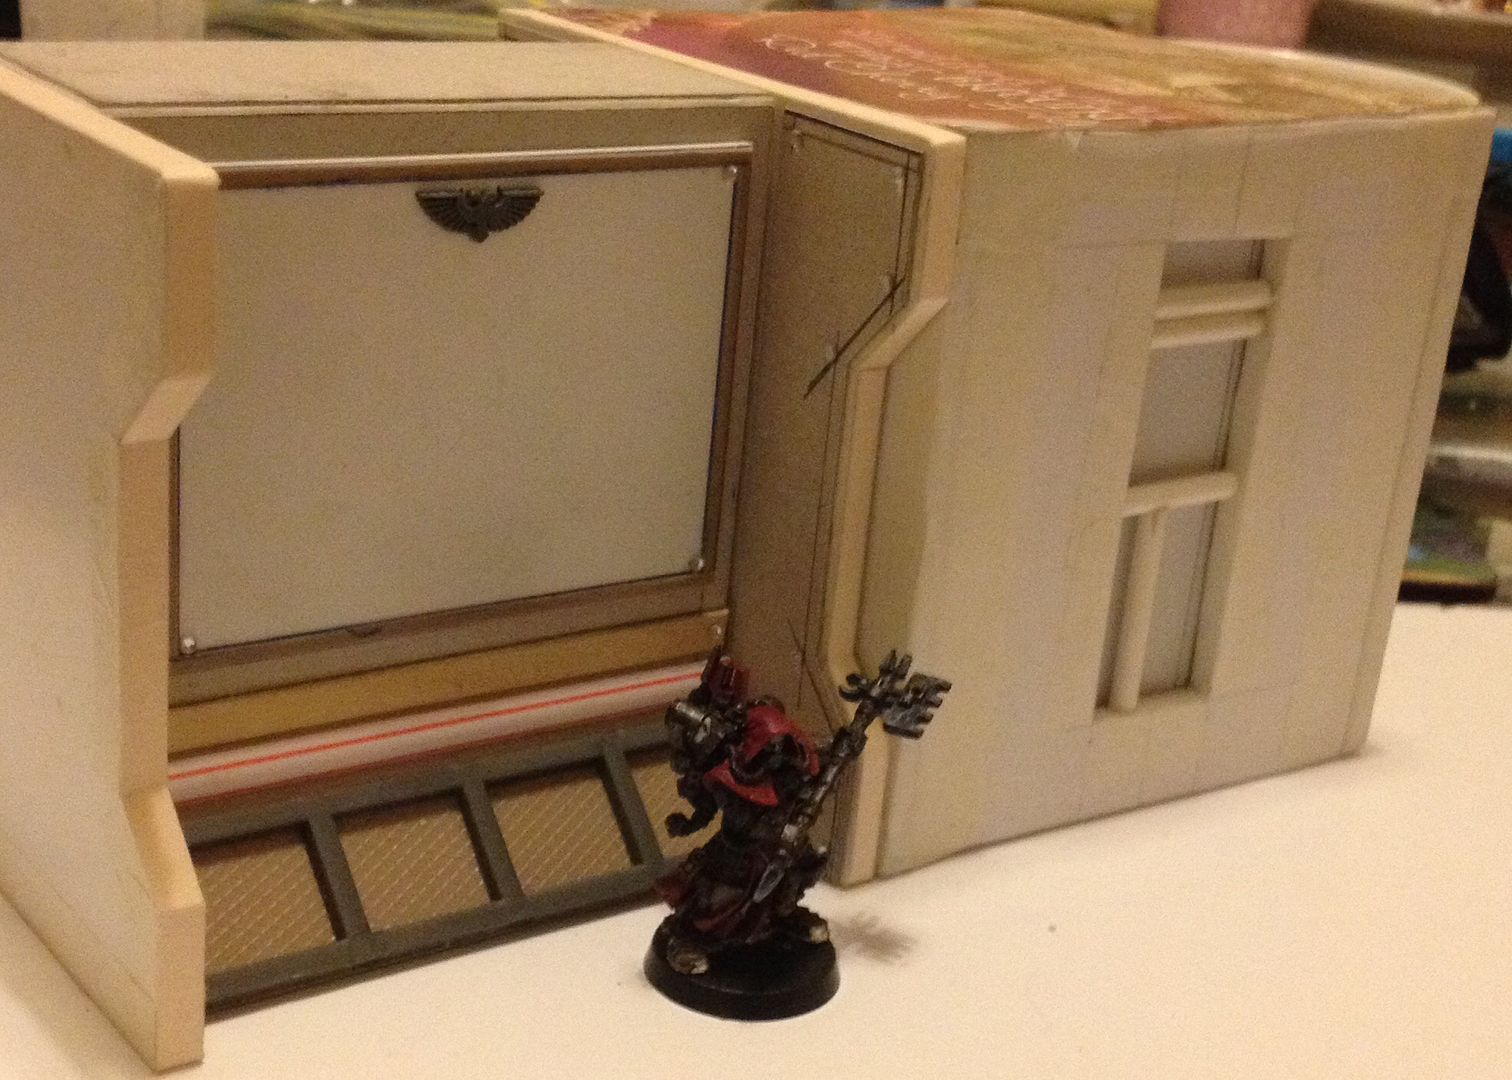 The central plate with the eagle on isn't stuck on and I'll be casting it up so I have blanks to add further details to and the ribs will probably get cast up to. Trying to work out if I can cast the whole thing up without it using a daft amount of rubber or resin. So casting in a single piece is out. |
|