|
|
Post by sw1 on Nov 8, 2014 9:00:23 GMT
Rise my beauty rise ... Time for a bit of threadomancy.
Just waiting on a bulk delivery of textured plasticard to get started on several scenery projects I've been wanting to get started for months.
First off is a trial production of some small stand alone scenery pieces to look at producing eventually in resin. Looking at computer units, cryo-chambers, interesting columns, generators ...
Second is a base board for using for Necromunda, think mainly sludgy watery board with supports jutting out of the gunk. The supports will be at set distances and buildings/walkways will fit on the supports. There may be an area of more solid ground raised slightly or just a thicker board but with a textured edge. Really wanting to look into different water effects.
Third is a spaceship style board which can also be used for Admec type buildings. This will closely match the current techie bases I've been working on in the past.
Nothing like going from a dormant state hobby wise to full on workload. Got a hobby itch I need to scratch. In the long run rather than half starting an army up on a whim to ditch later I think it'll be more productive to get some solid work done on the long term projects.
|
|
|
|
Post by sw1 on Nov 10, 2014 23:19:41 GMT
Well I've had a delivery of textured plasticard today. Some of it wasn't quite what I was expecting but hopefully all will be useful.
Wish there was a source of textured plasticard that would do little samples of each type so one could order the right stuff first time rather than potluck.
Got 2x A4 sheets of the main 3 textures I used on the bases. Plus some small grid stuff I'm hoping will be the right scale for tiles, brick work which might work for some random detailing, 2 different thicknesses of cladding/duckboard and some paving. The brick work is the only one I'm doubtful of how useful it'll be.
Rather than my usual random chopping up I'll be trying to plan out how to cut up each sheet to minimise wastage.
|
|
|
|
Post by sw1 on Nov 11, 2014 8:26:28 GMT
Trying to decide where the sheet brickwork would be suitable and I'm thinking if I put it on buildings in small patches and slap over a layer of filler on the rest of the model. So it'll look like an area of plaster work where the plaster has fallen off the underlying brickwork.
I think I need to find some real life examples to copy.
|
|
|
|
Post by sw1 on Nov 18, 2014 15:18:30 GMT
Hmmm ... Seems my managers been taking an interest on my browser history in work and realised I 'hobby'. So now I've been asked to do a 3d map based board for a team game ... And it needs to be ready for Thursday. I was going to cast up a load of tiles before realising it'd take a whole lot of resin to make. Plus a mould would take longer than Thursday to make and then cure. So I've decided to raid the foamboard instead. Maybe a solid base with foam board tiles stuck on which have raised details modelled onto them. Think it'll be a race to Santa grotto or some other similar theme so it'll be a snow map of some form. Maybe this is the kick start my hobby needs?  |
|
|
|
Post by Brassaxe on Nov 18, 2014 17:22:18 GMT
If it's a snow map, expanded polystyrene ceiling tiles might be quicker (and cheaper), broken tiles have a fairly snowy look to their edges anyway and you can always break more bits off to use as little snowballs. Oh, and don't forget to add it to your SWC tally  |
|
|
|
Post by sw1 on Nov 18, 2014 22:15:51 GMT
I've managed to halve the size it needs to be so it'll be made a lot quicker now  |
|
|
|
Post by sw1 on Nov 20, 2014 22:59:16 GMT
Here goes the little side project ... 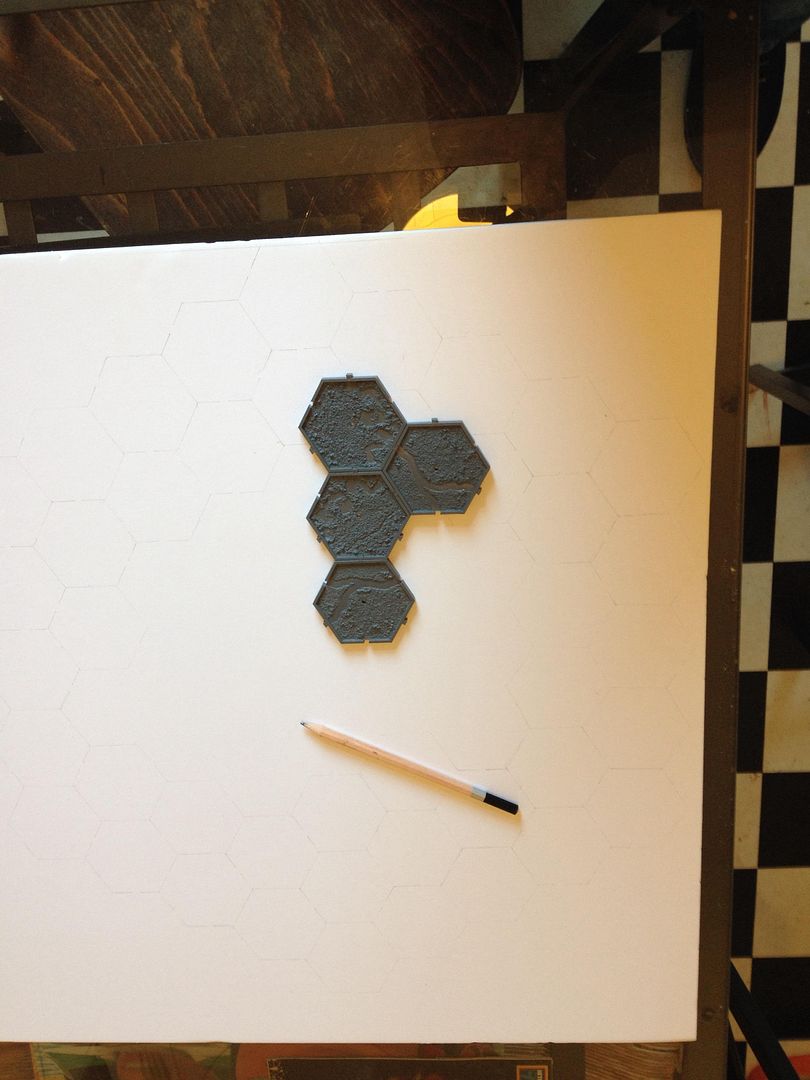 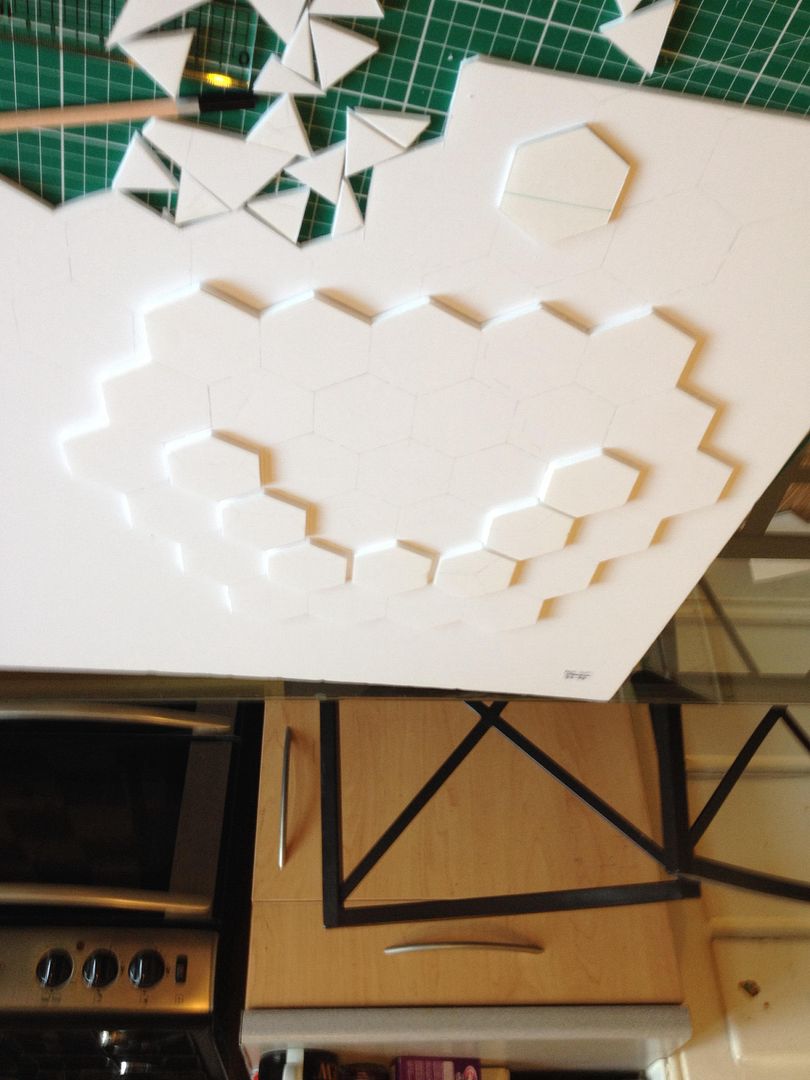 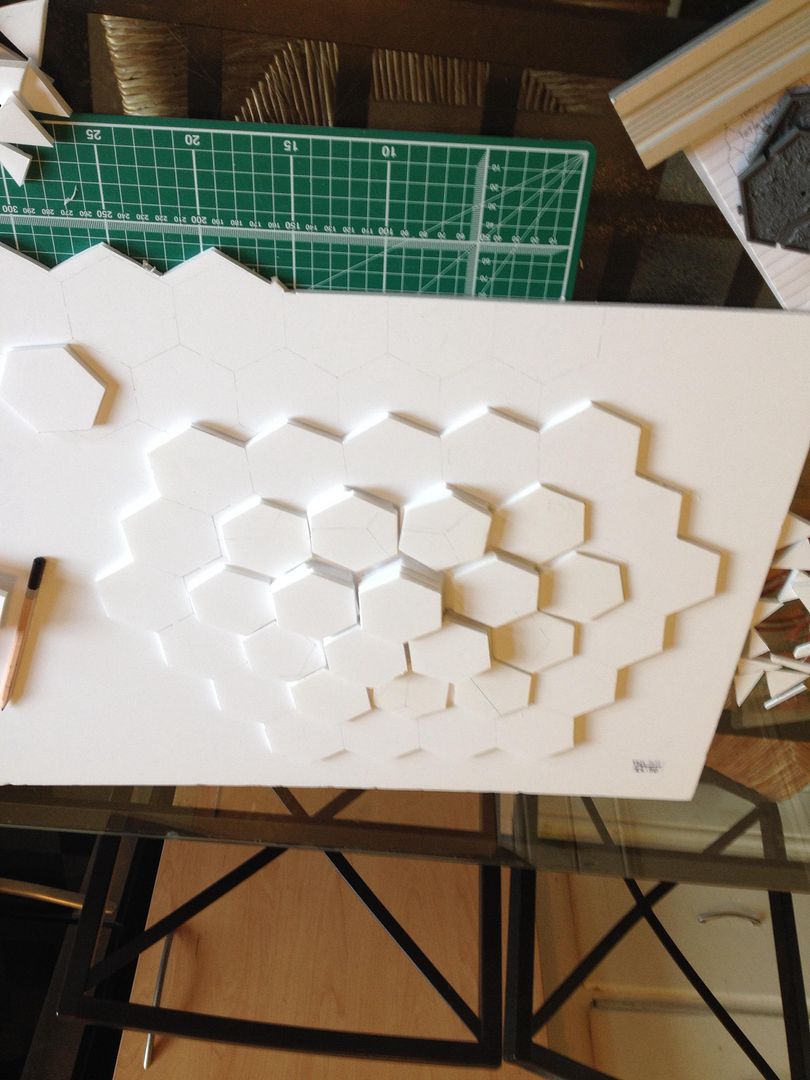 Started to add some chunky rubble to the edges of the tiles. I'm now tempted to do a 3d settlers of catan board. Or atleast a board edging as the tile edging on my current board is getting a bit worn |
|
|
|
Post by sw1 on Nov 21, 2014 14:42:46 GMT
Chunking out the edges finished just texture with a bit of fine sand on the iceberg and the painting with will probably be by hand thanks to the rain ... 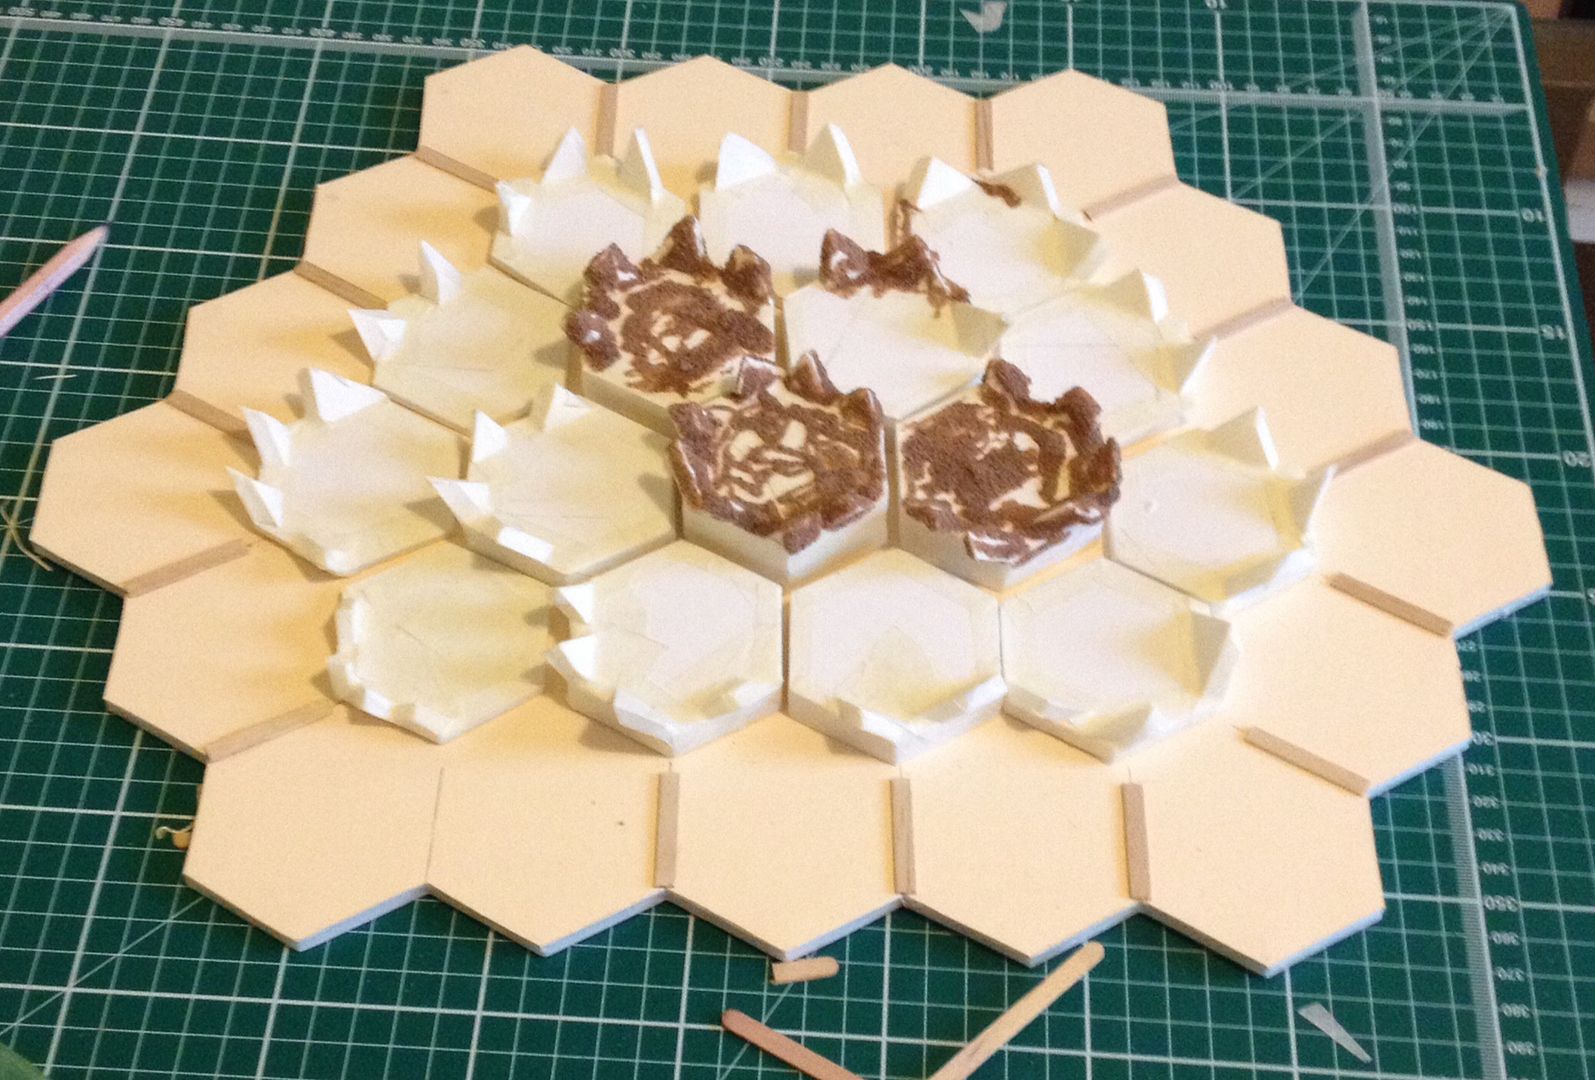 |
|
|
|
Post by sw1 on Nov 22, 2014 9:19:14 GMT
Last night saw it look like a spikey cow pat. Just before diving out to work there was a break in the rain so I gave it a quick blast with some white spray.
Quite happy with what it looks now especially as I didn't have to go and buy anything special to make it. Just raided the hobby supplies.
Pics to follow when I get wifi to upload.
|
|
|
|
Post by sw1 on Nov 23, 2014 0:19:32 GMT
To start off with here's it looking like a spikey cowpat ... 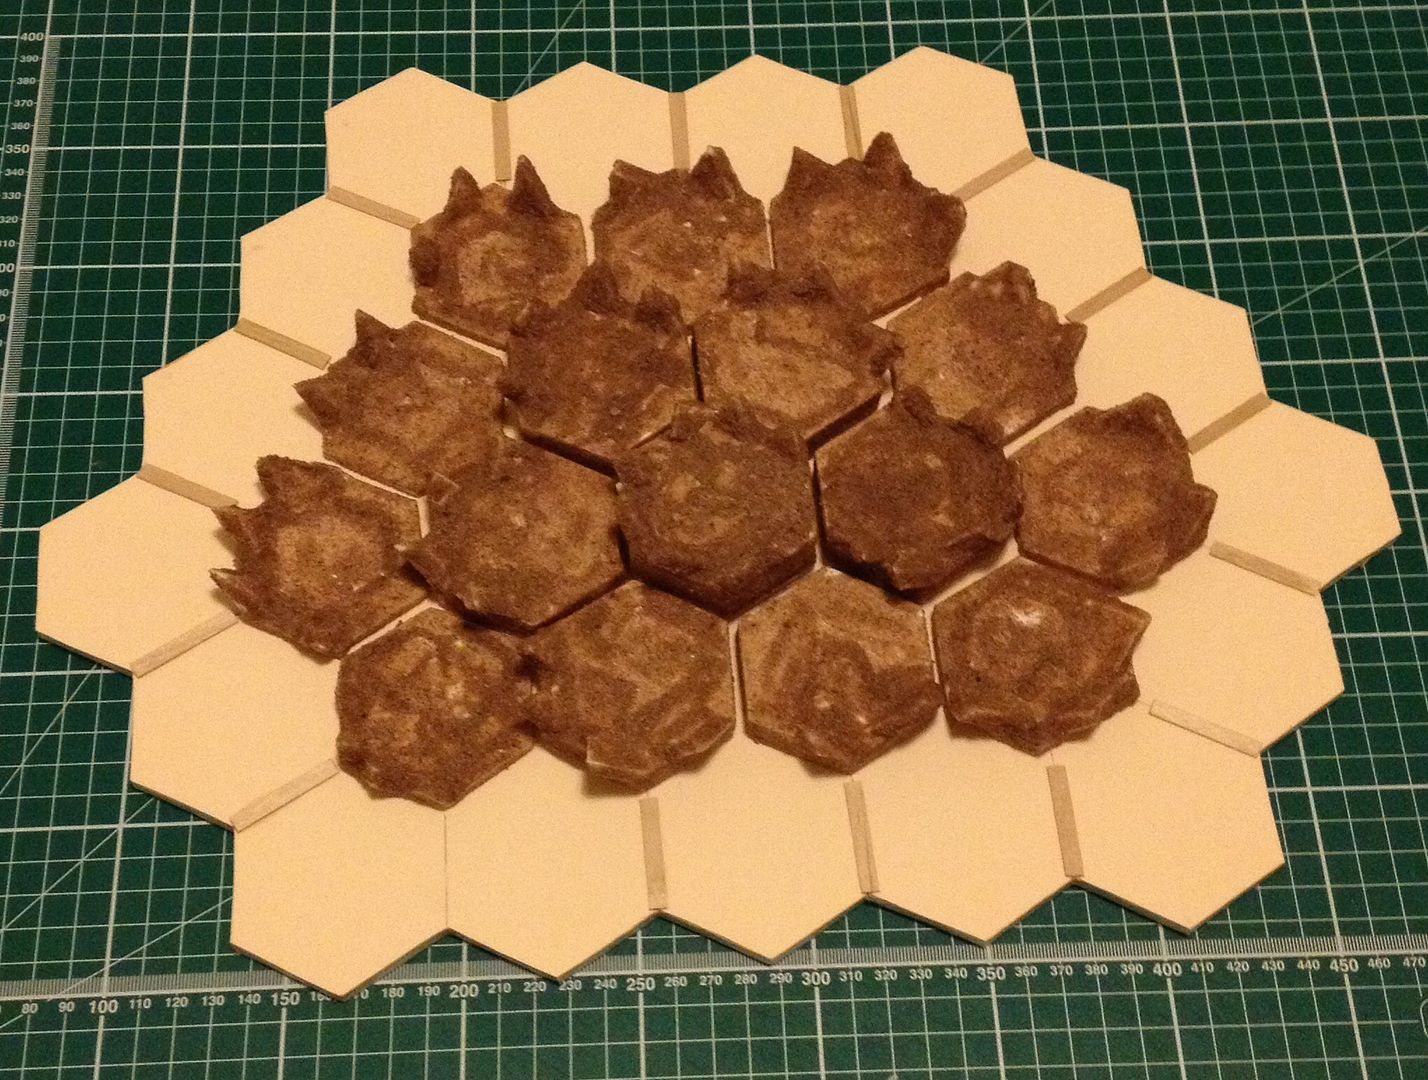 And here is it with a lick of paint ... 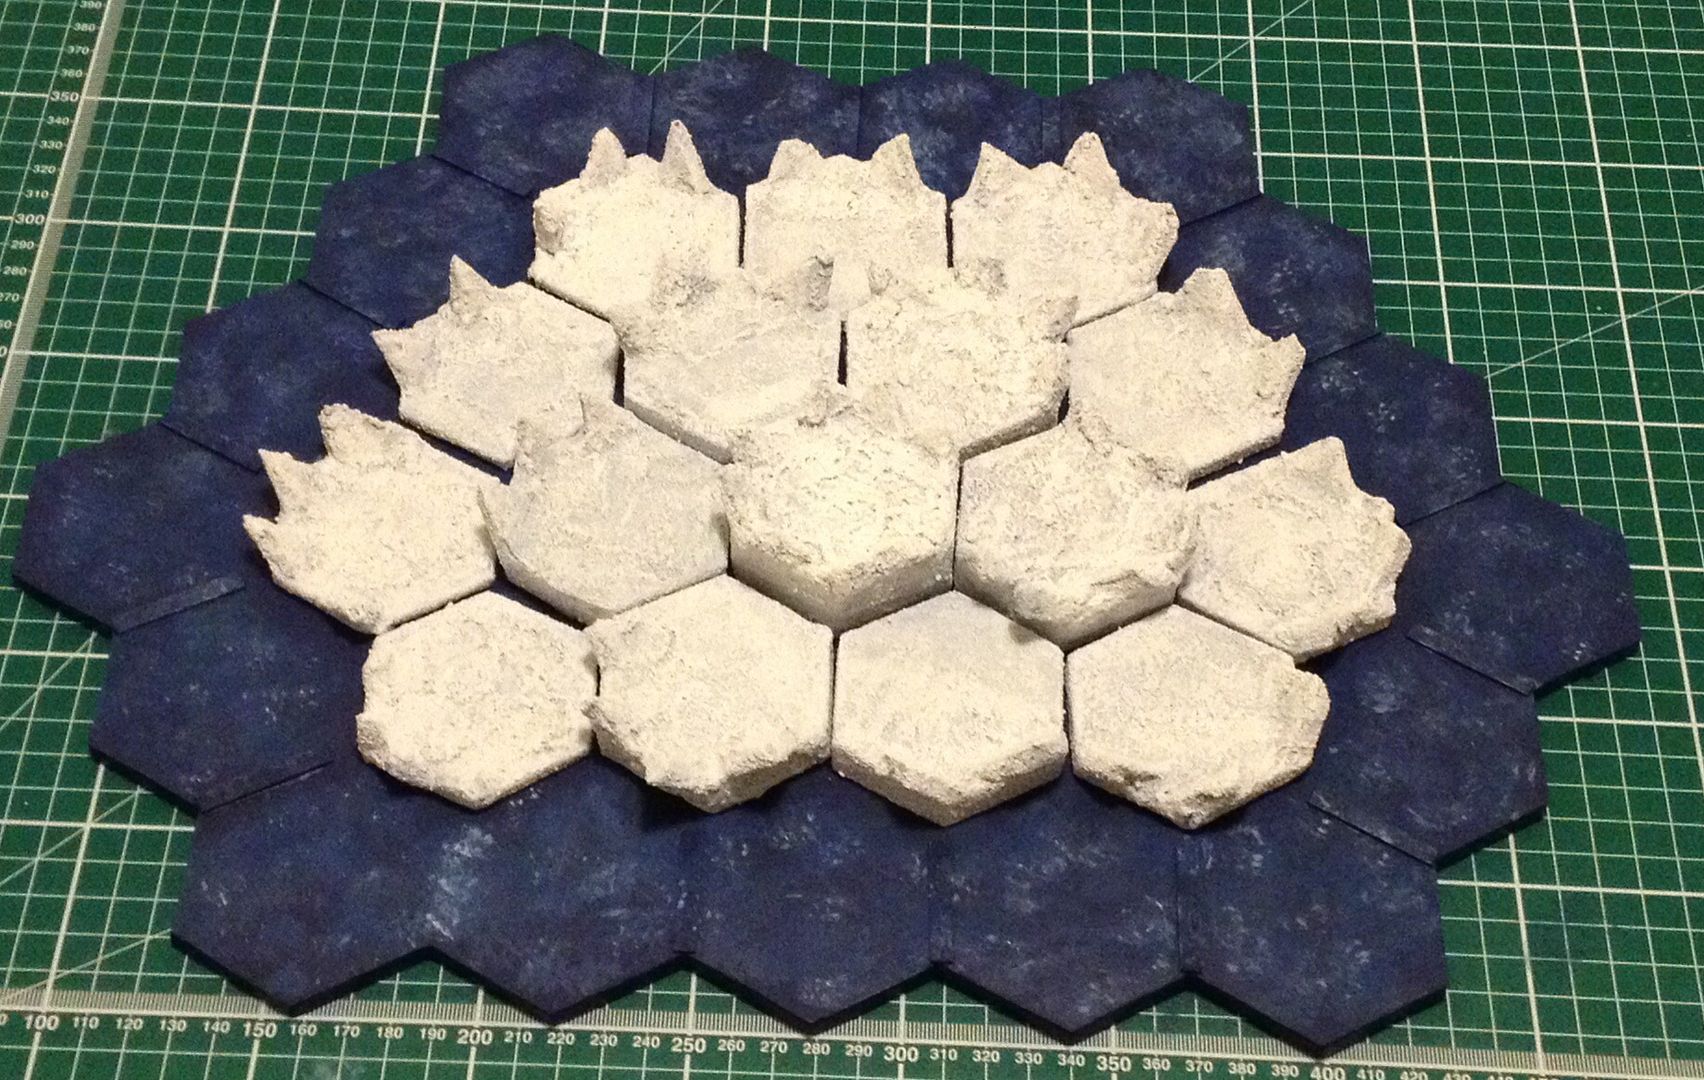 In the new year I'm going to remove the base board add an extra 3 bits so each side is the same size and repaint it. I'm fairly sure with a few skulls and dodgy looking stains and I'll have my very own chaos altar to use in WHFB or 40k. |
|
|
|
Post by sw1 on Nov 25, 2014 8:27:45 GMT
Lol ... It's all gone a bit cartoon like as soon as my manager got hold of it ... 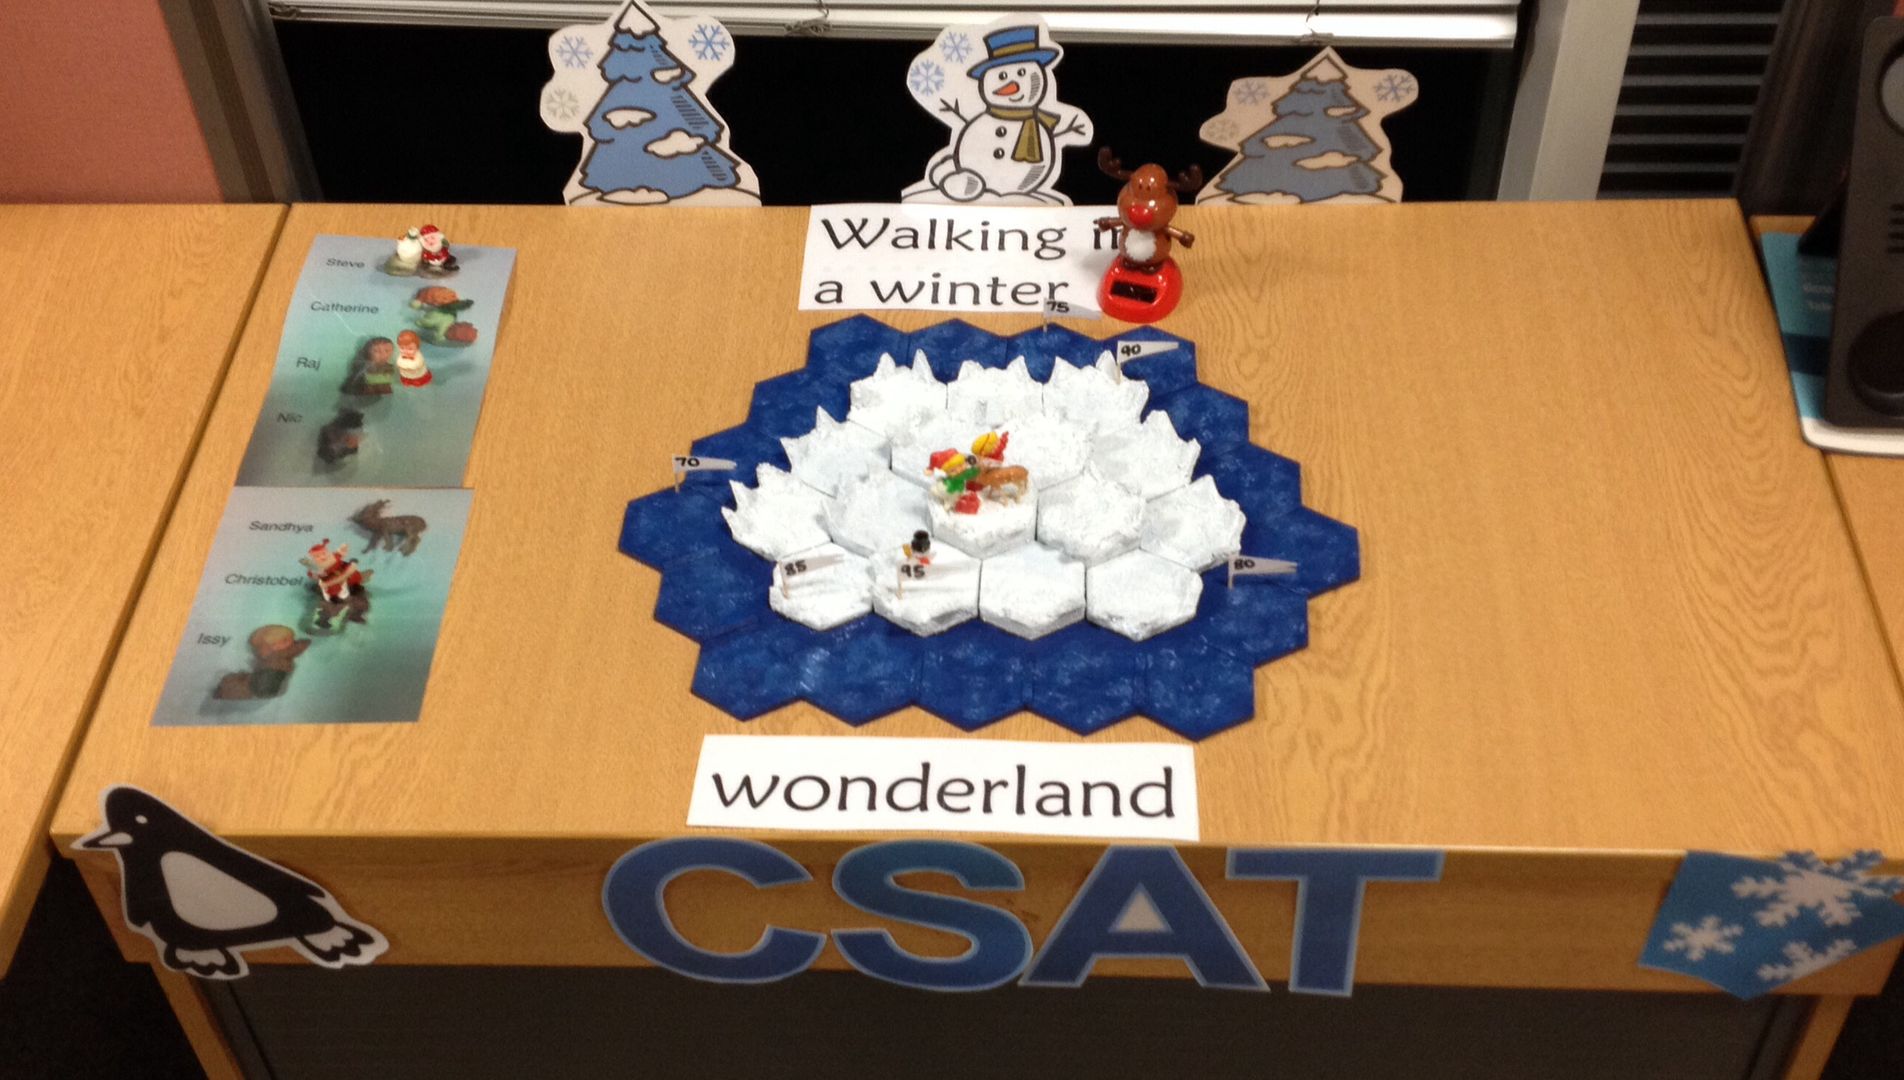 Time to focus on some proper scenery. |
|
|
|
Post by Geifer on Nov 26, 2014 12:18:48 GMT
Clear improvement.   |
|
|
|
Post by sw1 on Nov 27, 2014 19:34:28 GMT
Looks like I can cover approximately 2 1/2 ft x 5ft just with the material I use to make the square grating. That would be a really boring board but it gives me a bit of a perspective on what I have to work with. I'm thinking of keeping say one or two of the mats whole and doing something big and open. I can then stick some of the random stuff in the room like transport containers (made using necromunda bulkheads) and silos (made from the humble tin can). I also want to see if I can build some paper template star fighters and maybe set up some form of launch bay area. Even if I just have the back or front ends of them disappearing into launch tubes of some form. Today found me being the dutiful husband going to a haberdashery with the wife while she gets material for making things and there was a hobby and craft section!!! Corrugated cardboard, different sized spheres, many thicknesses of wire, matchsticks, necklace making bits that could be used to make interesting columns. I went a little crazy and we ended up spending three times as much as the wife had meant to spend. So I'd better get something finished soonish to prove the spending was worth it. |
|
|
|
Post by sw1 on Nov 27, 2014 23:57:22 GMT
Well here's the first move towards getting some new 40k scenery done. Currently just working out the rough layout where the recessed sections will be under the grating. I'm thinking the areas using full sheets will have multiple smaller recessed areas rather than all of it being recessed. The white paper under the matting will be where textured plasticard will go similar to the edging on the ruins base I did ages ago.  For scale the paper around the edge marks out a 12" x 16" area on the grid of the cutting mat. |
|
|
|
Post by sw1 on Nov 28, 2014 12:26:38 GMT
Rather than chopping a big hole into a foam board sheet I've decided to build it up with layers of foam board pieces with a sheet of card covering the whole thing. Works out much cheaper as a sheet of foam board is just under £5 and a similar sized sheet of card is £0.65!!!
I can also try to press rivets through from the back on a sheet of card. Which if it works will save a lot of work gluing little bits into place later. I'll have to acquire the embossing tool my wife has.
I'm also thinking of making the board much thicker than the scenery I've already done so I can make the recesses a bit more detailed. I think a coat of PVA to harden the edges will be required as a minimum. May even see if I can put something a bit more solid on the edging to avoid damage in the long run.
Currently looking for old broken electronics to raid for bits before I properly start the building.
|
|